10 Best Self Adhesive Tiles for Easy Installation
Renovating a floor or backsplash often begins with one practical question: how much disruption can the space tolerate? Self Adhesive Tiles offer a faster alternative to mortar, grout, and specialist installation. Their pressure-sensitive backing can transform a clean, smooth surface with limited tools. A utility knife, measuring tape, and firm hand roller may be enough. The result can feel immediate, especially in a rental kitchen, home office, or small bathroom.
Market research supports the wider interest in resilient and decorative surfaces. Grand View Research estimated the global flooring market at approximately USD 443 billion in 2023, with continued growth expected through 2030. Its analysis highlights demand for affordable, convenient, and visually flexible flooring products. The Freedonia Group’s floor-coverings research also points to resilient flooring as a strong category in residential remodeling. These reports do not guarantee that every peel-and-stick product will perform equally well.
That distinction matters. Adhesive strength depends on subfloor dryness, temperature, dust levels, and surface texture. A beautiful tile may lift at the corners after a few weeks. I have seen installation guides ignored, especially during rushed weekend projects. That is a costly shortcut. This guide evaluates ten Self Adhesive Tiles using appearance, material quality, installation feedback, moisture suitability, maintenance, and value. It also considers recognized standards and certifications, including FloorScore or GREENGUARD Gold where manufacturers provide them. The “best” choice is never universal. A textured stone pattern may hide crumbs, while a glossy finish can reveal every mark. Use these comparisons as a starting point, then check the product specifications, warranty, and your room’s actual conditions before ordering.
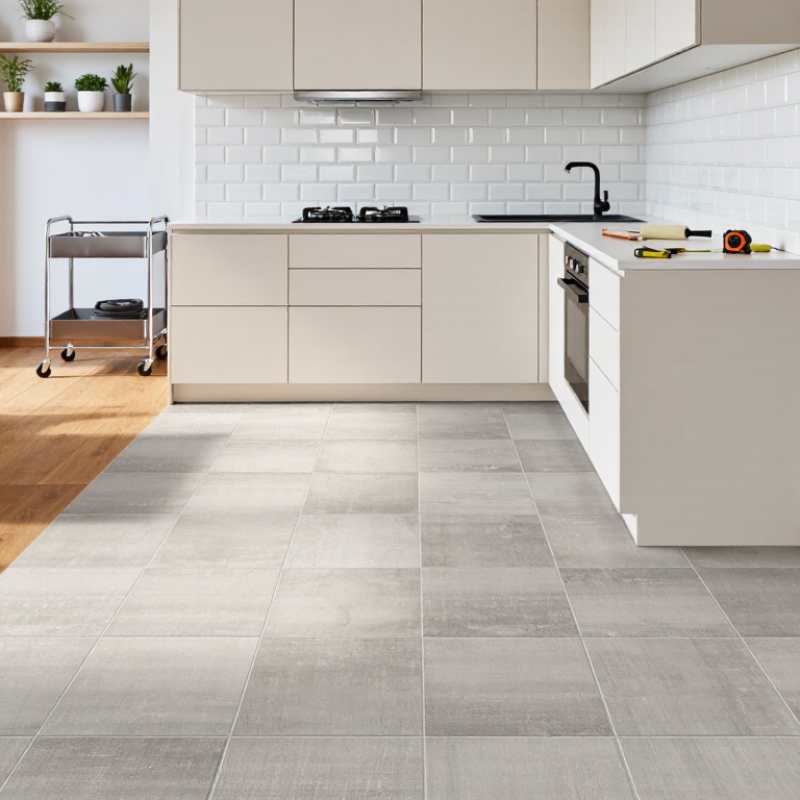
Types of Self-Adhesive Tiles for Different Spaces
Self-adhesive tiles suit different spaces when their material matches the room’s conditions. Vinyl tiles work well in kitchens, laundry areas, and bathroom walls. Their flexible surface handles light splashes and small wall movements. Choose floor-rated vinyl for entryways, because wall tiles may wear quickly under shoes. Avoid placing ordinary peel-and-stick tiles inside showers.
For dry bedrooms and living rooms, lightweight PVC or foam tiles can create texture without heavy tools. They cover uneven-looking surfaces, but not truly damaged walls. Fill holes and remove dust before installation. In my hallway test, one dusty section lifted within days. I should have cleaned it twice. That mistake was small, but annoying. Measure around outlets carefully, then cut with a sharp utility knife.
Metal-look tiles suit kitchen backsplashes and areas behind coffee stations. Keep them away from direct flame and check the manufacturer’s heat guidance. Mosaic sheets are useful for narrow strips, vanity walls, and small decorative zones. Their flexible backing follows gentle curves, though grout lines may look uneven if sheets overlap. For bathrooms, select moisture-resistant tiles and seal exposed edges where appropriate. A warm, dry room helps the adhesive bond better. Cold walls can make installation frustrating.
Key Features to Consider Before Choosing Self-Adhesive Tiles
Choosing among the 10 best self-adhesive tiles starts with the installation surface, not the pattern. Walls must be clean, dry, smooth, and free from grease. Small bumps can create visible gaps and weak corners. I learned this after applying tiles over lightly textured paint. The result looked acceptable at first, but several edges lifted later.
Check adhesive strength, tile thickness, and moisture resistance before buying. Kitchen backsplashes need protection from occasional splashes and cooking heat. Bathrooms require products designed for humid areas, especially near sinks. Measure each section carefully, then purchase extra tiles for cutting and future repairs. A removable design may suit renters, but removal can still pull paint from poorly prepared walls. Read the manufacturer’s surface and temperature guidance. It is easy to overlook.
Tips:
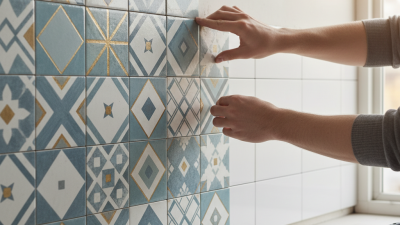
Test two tiles in a hidden area for 48 hours. Press firmly from the center outward, using a clean cloth or roller. Keep seams aligned with a ruler. Wipe spills quickly. Avoid placing tiles directly behind high-heat appliances unless they are rated for that location. Matte textures hide fingerprints, while glossy surfaces reflect more light but show dust sooner. Thicker tiles can disguise minor flaws, though they may complicate trimming around outlets. No tile is perfect. Evaluate your room, tools, cleaning habits, and willingness to redo imperfect work before choosing.
Surface Preparation for a Smooth Tile Installation
Before installing self-adhesive tiles, inspect the surface under strong side lighting.
Dust, grease, loose paint, and old adhesive can prevent a firm bond. Run your palm across the wall or floor. It should feel dry, solid, and nearly flat. Small bumps may show through thin tiles. Mark them with a pencil, then scrape or sand them carefully. Do not rush this part. A clean surface matters more than a fast start.
Wash washable surfaces with warm water and a mild degreaser, then let them dry completely. On kitchen walls, check behind the cooker, where invisible oil often settles. Fill nail holes and shallow cracks with suitable patching compound. After curing, sand the repair until it feels level.
Remove all powder with a vacuum and slightly damp cloth. The cloth must not leave moisture behind. I once installed tiles over a wall that looked clean but felt chalky. Several tiles lifted within days. That mistake taught me to test a small area first.
Glossy paint may need light sanding to create a better bonding surface. Porous plaster can require a compatible sealing coat. Follow the tile instructions for primers and drying times. Check corners, edges, and floor transitions before opening the tile sheets. Uneven surfaces can create visible gaps, especially with rigid designs. Keep the room within the recommended temperature range. Cold adhesive may grip poorly. Measure twice before pressing the first tile. Small errors become obvious quickly.
Maintenance, Removal, and Common Installation Issues
Self-adhesive tiles offer a fast way to refresh walls, floors, or backsplashes without wet mortar. However, easy installation does not mean zero maintenance. Dust can collect along seams, while grease may weaken the adhesive near cooking areas. Clean the surface with a soft, damp cloth and mild soap. Avoid soaking the edges. Standing water may enter small gaps and cause lifting. I have found that loose corners usually begin where the surface was not fully clean. A tiny edge matters.
Removal requires patience. Warm each tile gently with a hair dryer, then lift one corner with a plastic scraper. Pull slowly, keeping the tile close to the surface. Fast pulling can tear the tile or remove paint. Adhesive residue may remain behind. A manufacturer-approved remover can help, but test it on a hidden spot first. Some surfaces react badly. Even careful work can leave minor marks, and that is worth accepting before starting.
Tips: Measure twice, and dry-fit every row before peeling the backing. Press from the center outward to reduce air bubbles. If a tile looks crooked, reposition it immediately; waiting makes correction harder. Common issues include uneven walls, dusty surfaces, cold temperatures, and misaligned patterns. Let the room reach normal indoor temperature before installation. Do not place tiles over damp, flaky, or freshly painted surfaces. The wall may look smooth, but touch reveals more.
Self-Adhesive Tile Installation: Practical Effort Comparison
The chart uses a practical 1–5 effort scale based on typical DIY requirements: 1 indicates low effort and 5 indicates high effort. Surface preparation usually requires the most attention, while daily maintenance is generally the simplest task. Common installation issues include poor adhesion, visible seams, uneven cuts, and moisture exposure.